First, a disclaimer for those under age readers. Please get your parents permission before altering your doll's store bought clothes. As we will be handling needle and thread as well as scissors for this it would be best to get an adults help for those parts if you have not done this before. Thank you.
Ah, one thing. The tips in this tutorial will work for any size doll be it Barbie or Cabbage Patch kids clothes. The principles are the same either way.
Okay, so just about any store where you can find a doll will likely have fashion packs for them. Some are made just the way you want them and some not so much. When you find an outfit you like but isn't perfect don't pass it up if the price is right as you can always alter it.
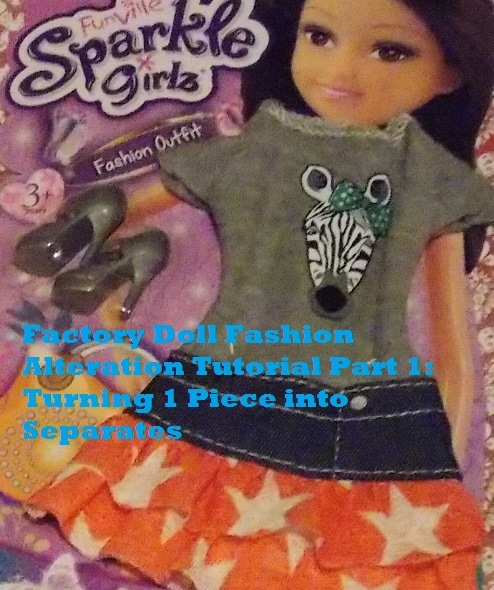
In part one of this tutorial set I will show you how to take a Factory Made outfit (store bought) and turn it from a one piece outfit into a two piece or separates. As you can see in the Title picture I have a dress that is meant to look like a t-shirt and skirt combo. Now I like both the top and bottom of this outfit but there will be times when I don't want to use them together. So let's separate them. It's easier than it sounds.
Materials List:
Ah, one thing. The tips in this tutorial will work for any size doll be it Barbie or Cabbage Patch kids clothes. The principles are the same either way.
Okay, so just about any store where you can find a doll will likely have fashion packs for them. Some are made just the way you want them and some not so much. When you find an outfit you like but isn't perfect don't pass it up if the price is right as you can always alter it.
In part one of this tutorial set I will show you how to take a Factory Made outfit (store bought) and turn it from a one piece outfit into a two piece or separates. As you can see in the Title picture I have a dress that is meant to look like a t-shirt and skirt combo. Now I like both the top and bottom of this outfit but there will be times when I don't want to use them together. So let's separate them. It's easier than it sounds.
Materials List:
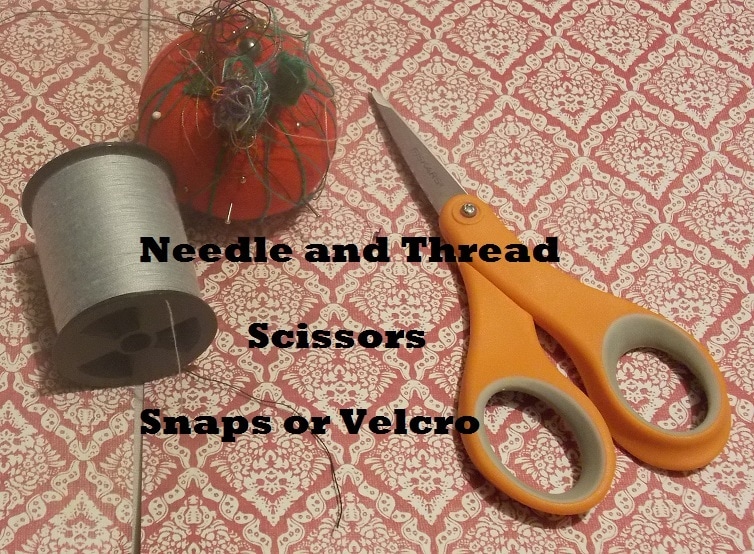
I forgot to include the Snaps I used in this picture but they are in a later one so don't worry.
The last thing you are going to need is to:
The last thing you are going to need is to:
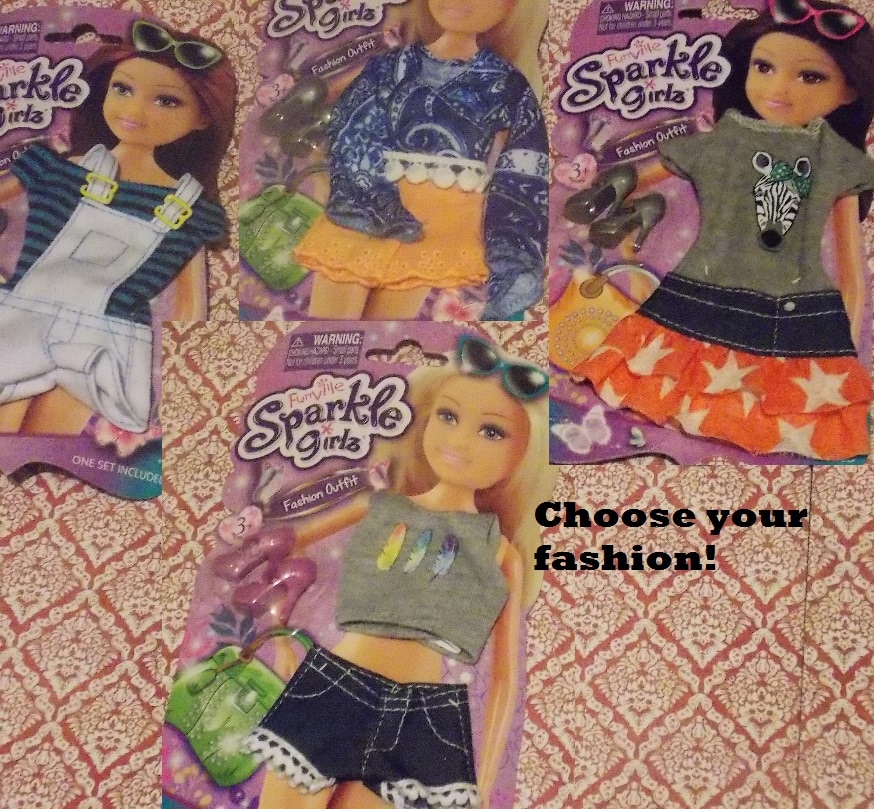
Now these are a Walmart Brand of doll and doll fashions. They are similar in size to a standard Barbie but usually only the separates can be used interchangeably with them. The shoes fit either one. I bought these four to show a few options and for the purposes of these Tutorials. We will start with the one Piece Zebra and Stars dress in the upper right of the picture. The tips to follow will work the same had I chosen the one piece overall shorts and t-shirt outfit as well. So, don't worry if you can't find this dress. Just get the one you like and follow along.
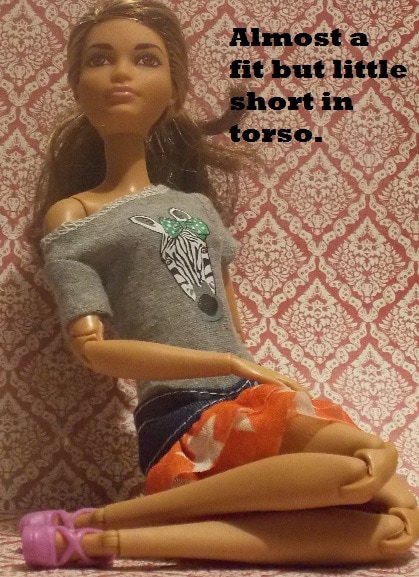
Here is the outfit on the doll I want it for. She is a Made to Move Barbie. Although she is similar in size to the Sparkle Girl Walmart brand her torso is longer than the doll the outfit was made for. That is why it is being force to hang off one shoulder like it is and seems to be pulled tight from the neck to the the hips. However it fits in nearly every other way. I bought it for the cute Zebra and stars. Since I want it for this doll and want the pieces to work with other items in my doll clothes wardrobe it has to be fixed.
I should warn you that there will be a bit of hand sewing to follow. If you are unsure of how to sew by hand here are a few links to youtube videos for the two stitches I will be using for this. The first one is called a Running Stitch. The second one is called a Back Stitch. Just click the green words to go to the videos.
Be sure to knot your thread and lets begin.
Step one: Velcro Removal
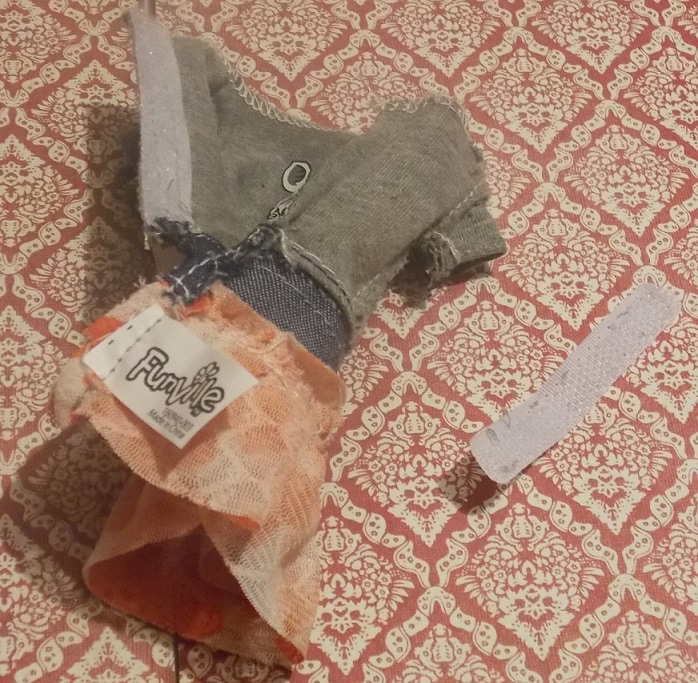
Okay, I see that thought in your head. Yep, I do. you are asking yourself why we are taking the velcro off if we are just going to put it back on later, aren't you? See, I told you I could see it.
There are two reasons for this for me, but only one that you have to worry about it it effects your chosen fashion. First, often factory made fashions use one continuous piece of velcro along most of the opening of the outfit. Usually this ends up on both pieces you are about to separate making separation impossible. The only way to get the outfit apart without destroying it is to remove the velcro.
My other reason is that I hate velcro on my doll clothes. Why? It snags on everything thing from the dolls hair to the lace on the clothes. This damages them. If I want to keep the clothes lasting and looking their best as long as possible that stuff has to go. So I often take it off even if I am not altering the clothes otherwise.
You do not have to do this. Velcro is cheaper, and you can reuse the pieces that come with the outfit from the factor later. This is just my preference.
Step three: Find your Separation point
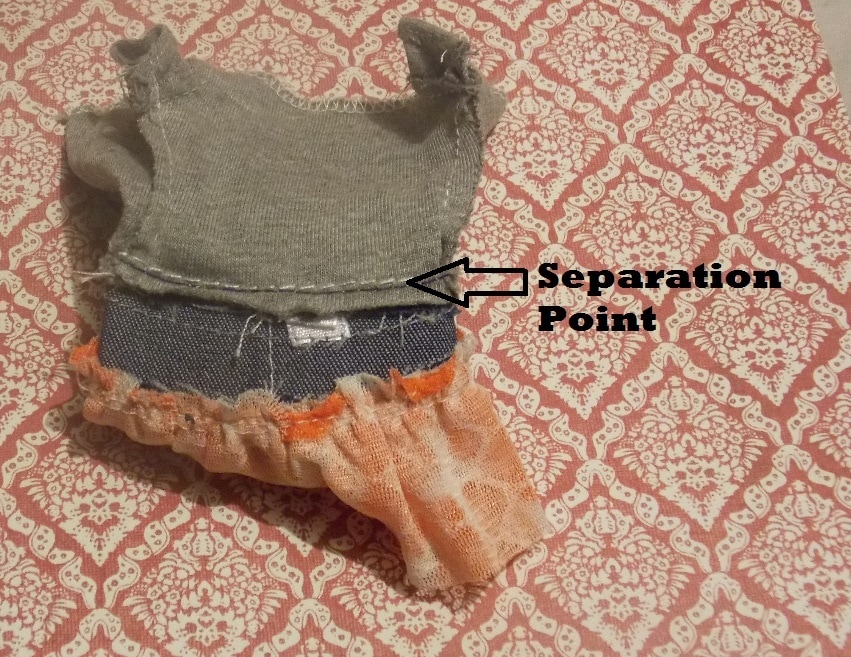
See the two lines of stitching long the bottom of the T-shirt portion of the dress? That will be our separation point. All you have to do is go to the back opening and carefully snip the stitches. If you have a seam ripper it goes quicker but as I do not have one I don't bother with it. Just take your time and cut only the thread.
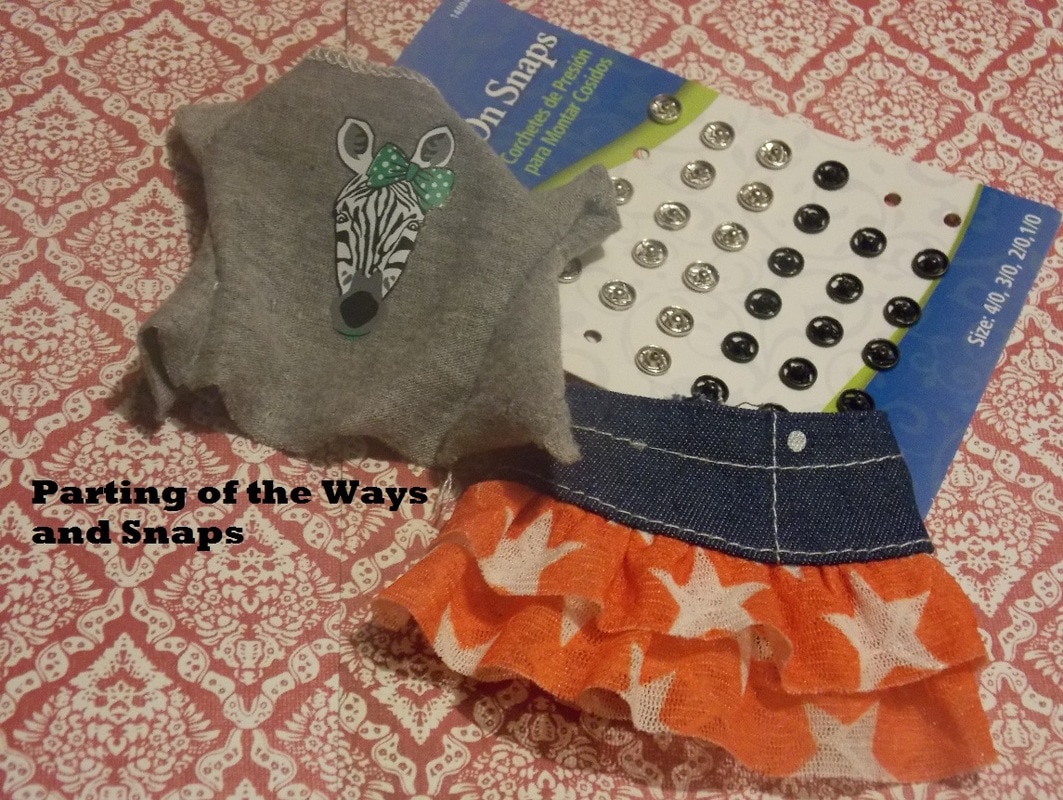
Would you look at that, you've officially and successfully separated your factory made outfit! Whoot! Now to make them your own.
Oh and there are those snaps I keep talking about. They are Sew on Snaps and found in most Sewing or Craft sections of local stores that sell fabric. I buy the smallest size they offer for Barbie doll sized clothes as larger and they just look bulky.
Step four: Hemming and Closures.
Oh and there are those snaps I keep talking about. They are Sew on Snaps and found in most Sewing or Craft sections of local stores that sell fabric. I buy the smallest size they offer for Barbie doll sized clothes as larger and they just look bulky.
Step four: Hemming and Closures.
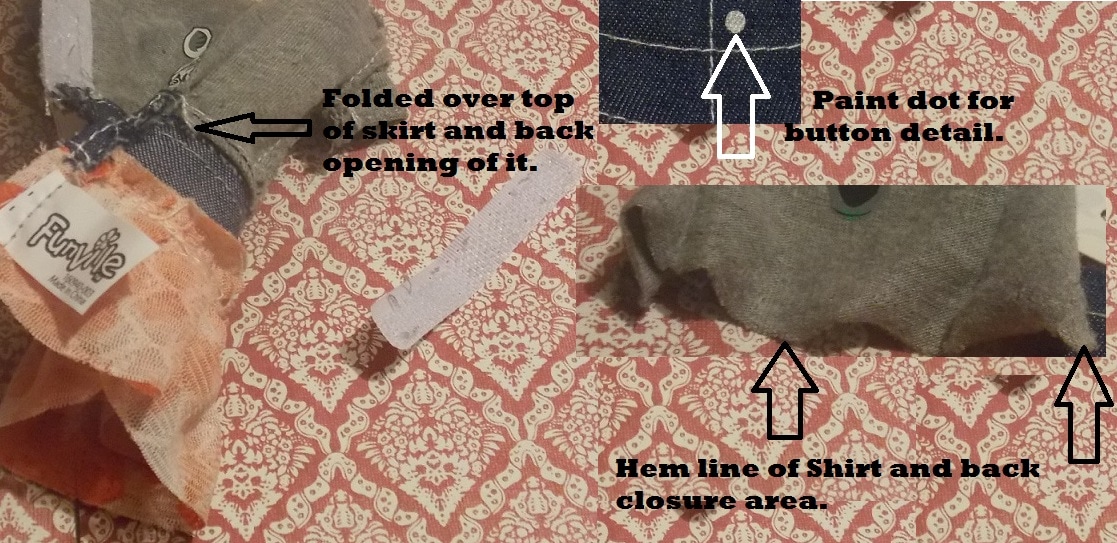
Now remember those stitches you watched the videos on or knew already? Well get your needle and thread 'cause here we go. To finish the top of the skirt I had to back stitch down the hem where the shirt had been attached. I used matching white thread and attempted to make my stitches as even with the ones the factory used.
Next I take and fold over both sides of the opening of the skirt and sew them down to give it a neat and finished look. I leave enough of an opening for it to slip easily over the dolls ships. You will need to test this on your doll to know how much of the back to leave open for that. If you look in the picture you can see that the factory has done this originally with the skirt. I didn't both making a new fold for the Hem of the top or the opening. Make it easy on yourself and let the factory fold in the material work for you. Ironing this tiny is a pain.
Next I sew on a snap and I am done with the skirt. To see how to Sew On Snaps video and how to Sew On Velcro. The trick to this is to sew them on to opposite sides of the fabric from each other. So you so the first on the outside of the skirt but the other you sew on the inside. That way when you got to close them they meet correctly. It doesn't really matter which side you chose to do sew them on as we hemmed both sides of the opening.
Once you have that one put it on your doll inside out and pull out a bit of ribbon if it is a skirt you are working with. Most do not stay in place correctly and require a bit of help to. To keep it from riding up what you do is get it to set where you want it on your doll's hips. Take a length of ribbon and run it from the front to the back between her legs like a built in set of panties. you've likely seen them in other doll skirts. Take a look at how it is done there and copy it. The trick is to seal the end of the ribbon with fabric glue once you cut it or it will fall apart on you. Take it off the doll and sew it in place.
Sorry, I forgot to take a picture of this step.
Lets move on to the shirt. What we need to do here is hem the bottom, one side of the back and add the closures (snaps or velcro). For the hem at the bottom I used the back stitch. The reason for this is it has a bit of stretch to it and allows the material of the shirt to stretch if needed on the doll.
The factory usually only folds over one side of the back of a shirt to give a finished look to it. In this case we can do the same. It will save us time, but usually the factory made clothes don't have enough fabric for you to fold the other side over and still be able to close the tops. For this we use a Running Stitch. I first got one way and then go back the other way to fill in the blank spaces in between.
Unlike with the Skirt you do have to be a little more careful with the top. You want the folded over side to be on the outside of the finished garment when closed for a neater look. That means on this side you sew the snaps or velcro to the inside of it. Once you have them on your done. Or...
Step five: Make it your own
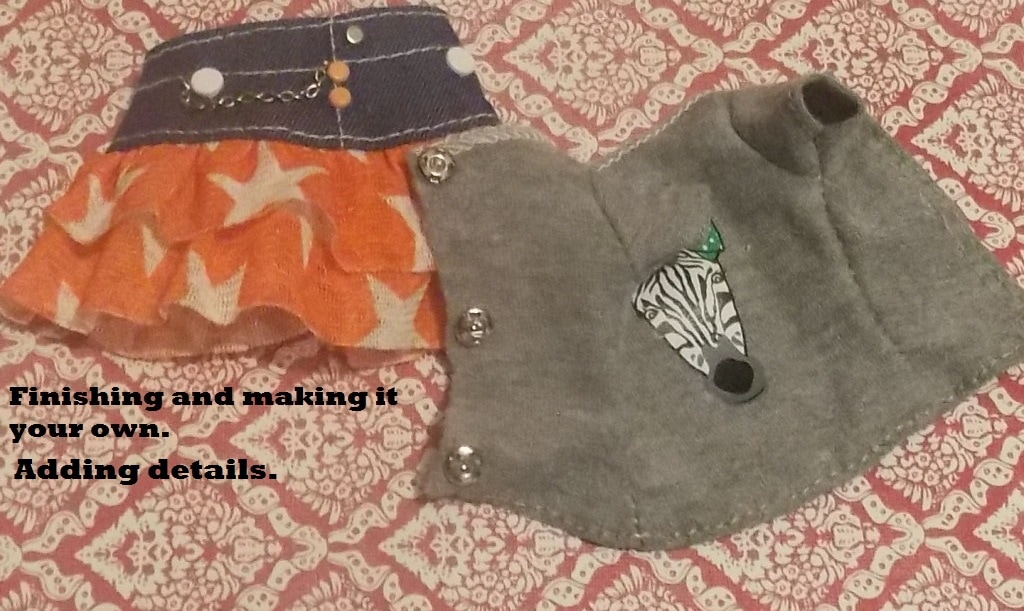
This step is completely optional. If you like the way the garment looks them skip it, but if you want to add some of your own style to it then there are ways of doing so. Everything from buttons to ribbon can be used to add detail to your garment. Here I chose to add to the skirt as I liked the shirt as is. I covered the painted on silver button with a silver brad I found in the Scrap Booking section of my local craft store. They look like this, Pronged Brads. Tiny ones can look like buttons on jeans and pants, and even snaps on shirts. I used orange ones and larger white ones for a bit more detail and to attach a bit of silver chain to it.
That's it. Add what you want and have fun with it.
Coming soon: Factory Doll Fashion Alteration Part Two: Fitting Garments
That's it. Add what you want and have fun with it.
Coming soon: Factory Doll Fashion Alteration Part Two: Fitting Garments
 RSS Feed
